
Thinking of buying a 3D Printer? Let’s give that thought a quick reality-check… I was ready for a somewhat hobbyist experience but it took way longer than expected to have the printer assembled and printing acceptably.
Mine is a $549 Printrbot Kit. Interestingly perusing forums of the current generation $2,200 MakerBot Replicator 2 showed their owners experience similar issues to what I’ve gone through.
Assembly of the kit took five to six hours. Until it printed reliably using PLA was probably a further forty hours but I did fabricate a new platform and adjustable bed. If time permits I’ll follow this post up with common issues + solutions so maybe you’ll be up and running in under twenty hours. Either way, expect to become a 3D Printer technician and be sure to have an abundance of patience handy.
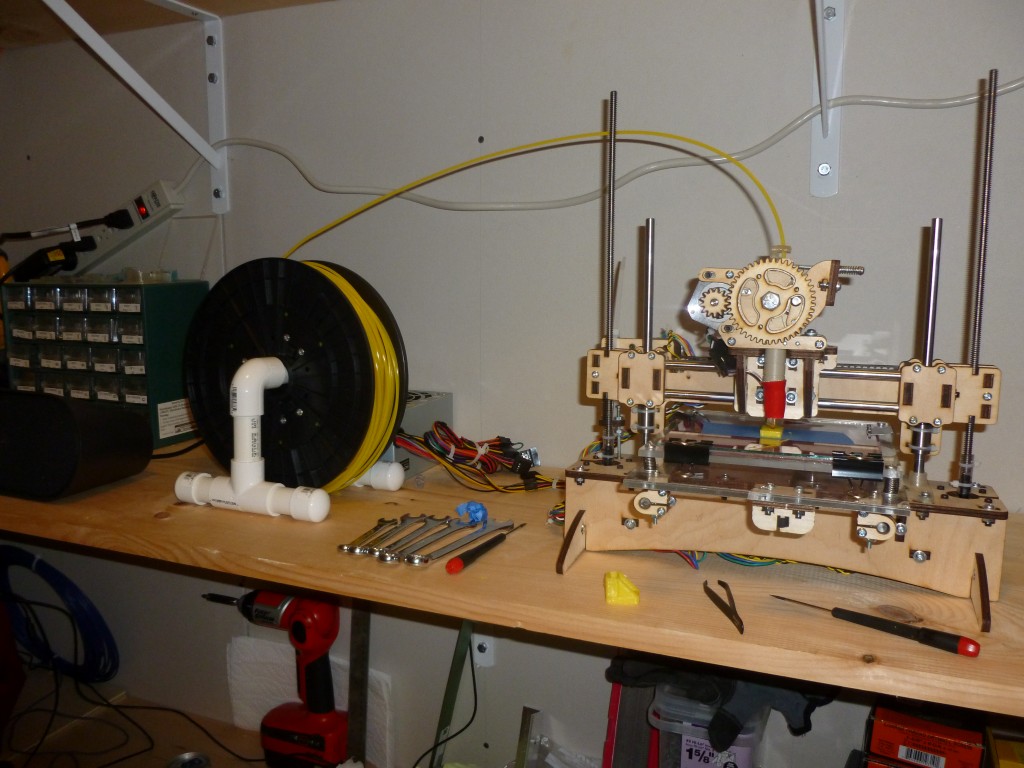
The image below sums up the experience nicely. See the tools? Notice the spool holder made from DIY parts? Surprised to see DIY screws, power drill etc nearby? Well… forums and blog posts are littered with people who purchased a 3D printer and abandoned it before making good prints. Surf some forums and you’ll notice virtually everyone showing off their prints has their printer in some kind of hobbyist workshop; typically they’ll have loads of tools around and are veterans of past fabrication/ advanced DIY projects.
But apparently a child can build one? Yes, some manufacturers are suggesting you buy one for your eight year old and he’ll have it assembled and printing in no time… Not a chance! I did see one blog post where a young boy had assembled the kit but “so far they were having trouble printing”. Younger than twelve I’d say to totally forget it and buy him/her a Lego Mindstorms or similar. High school age is probably more appropriate; even then a tinkerer Father on hand is almost a necessity.
Should I spend $550 or $2,500?
Now my $549 Printrbot is dialed-in and has had a few modifications its prints are excellent. Given the explosion in 3D Printer popularity, anything built in 2013 is going to look like a Dinosaur in a few years. Unless you need to print very large objects now I recommend buying a lower priced printer today and upgrading in a couple of years when mass production techniques should bring costs way down and take quality/ ease of use way up. I purchased Make: Ultimate Guide to 3D Printing for $6 as they reviewed about fifteen current generation printers.
Should I buy a Kit or Fully Assembled?
Assembly is typically only ~$100 extra, but the experience [frustration!] of building your first printer is invaluable. I was too young to build my first home computer in 1981 so was bought an assembled one. I did not make that mistake this time; the kit came with poor/incorrect instructions, but it was the correct route to take for both experience and bragging rights in twenty years time.
What to expect from a Kit?
Until the last couple of years most 3D Printers were built from open source online designs. Hobbyists sourced components themselves and spent unbelievable amounts of time tweaking. My PrintrBot is a well priced kit building on these many years of open sourced achievements. I doubt there is much profit margin for PrintrBot. Also, you will have noticed a lot of plywood on my printer; that’s laser cut plywood. It has issues but is an inexpensive way of producing the parts – once a laser printer is purchased the cost of chassis etc is next to nothing for the smaller scale manufacturers compared to the material/hours required to 3D Print parts as was common in the early days.
A kit gets to you to where these serious hobbyists were far quicker for a reasonable price.
Take a look at these pictures for an impression of what to expect:
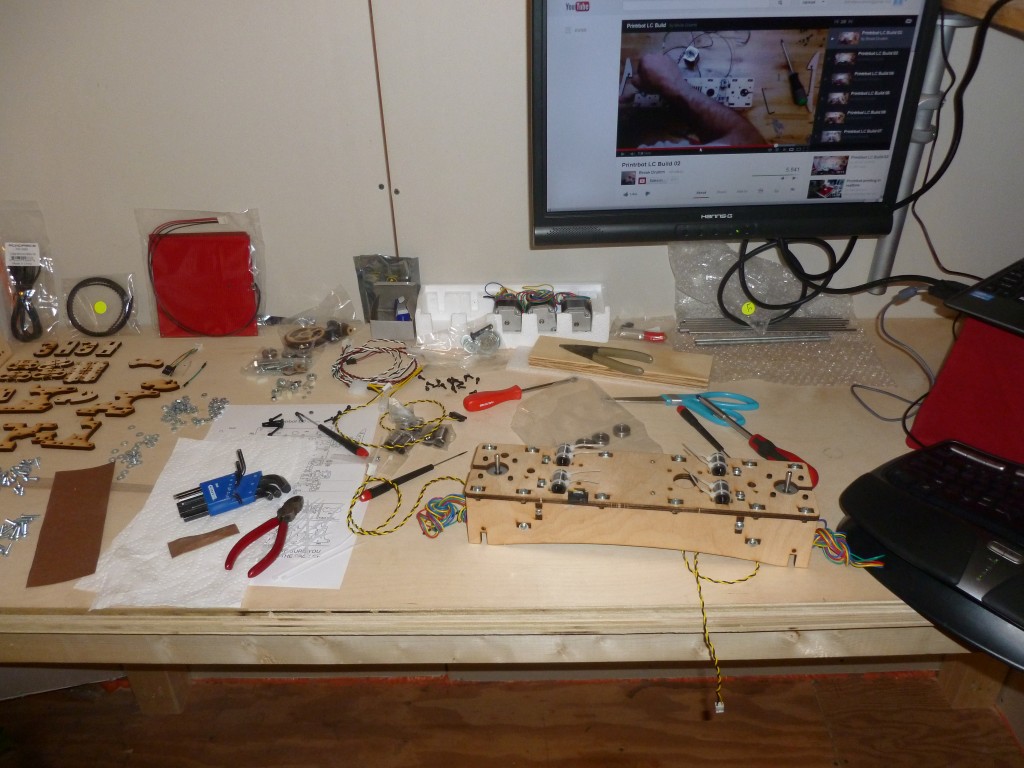
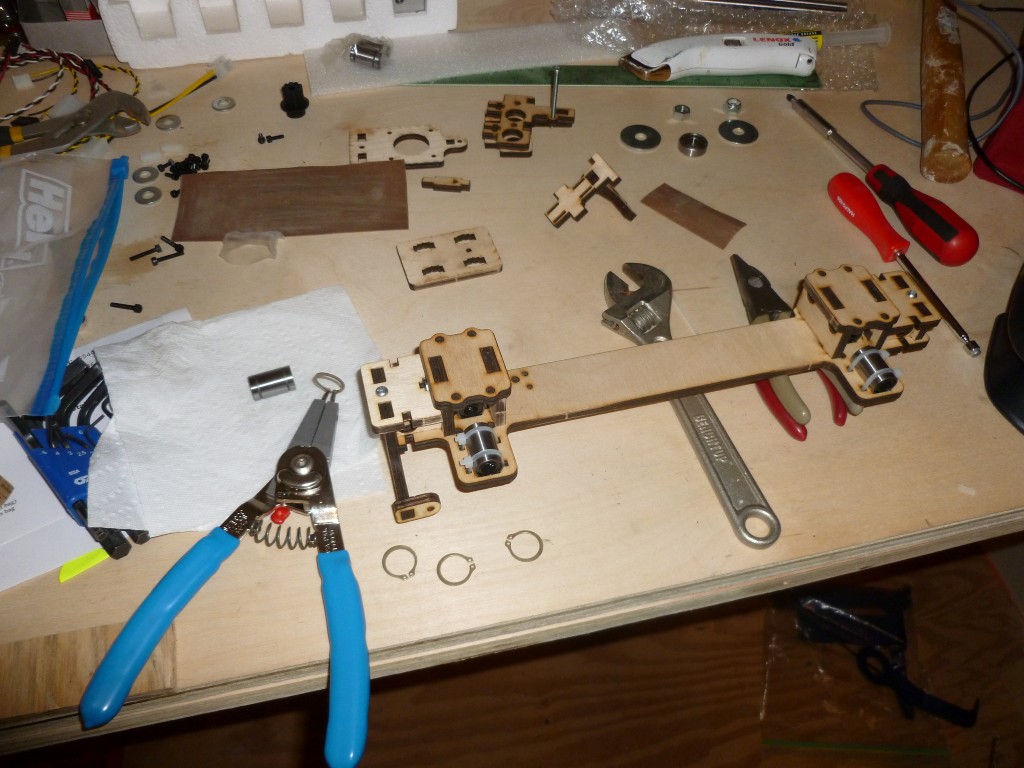
Their website says it takes two hours to build. Perhaps once I’d built a few that would be true. In reality it takes about five hours. Documentation is poor and was incorrect in several places as incremental design changes have occurred since the videos/ online help were created.
How long until Printing is possible after Assembly?
Likely some owners obtain a decent print on their first attempt; most do not – actually possibly most never do before putting it in a closet or on eBay! Expect several hours to several before anything reasonable is printed.
ABS filament emits fumes which made my eyes sting, but is much easier for a beginner to use than PLA filament. Since my workshop is small and unventilated I have moved exclusively to PLA, ensure your printer is in a well ventilated area and start with ABS.
Hopefully time permits me to write a separate post on getting started, but main tips are:
- Level the bed
- Ensure z-home is set correctly (distance from extruded nozzle to the bed)
- Ensure the printer extrudes at the correct rate (pretty easy for ABS)
- Figure out the slicing and printing software
- Use calipers to roughly calibrate movement along the x, y and z-axis (fine tune when printing ok)
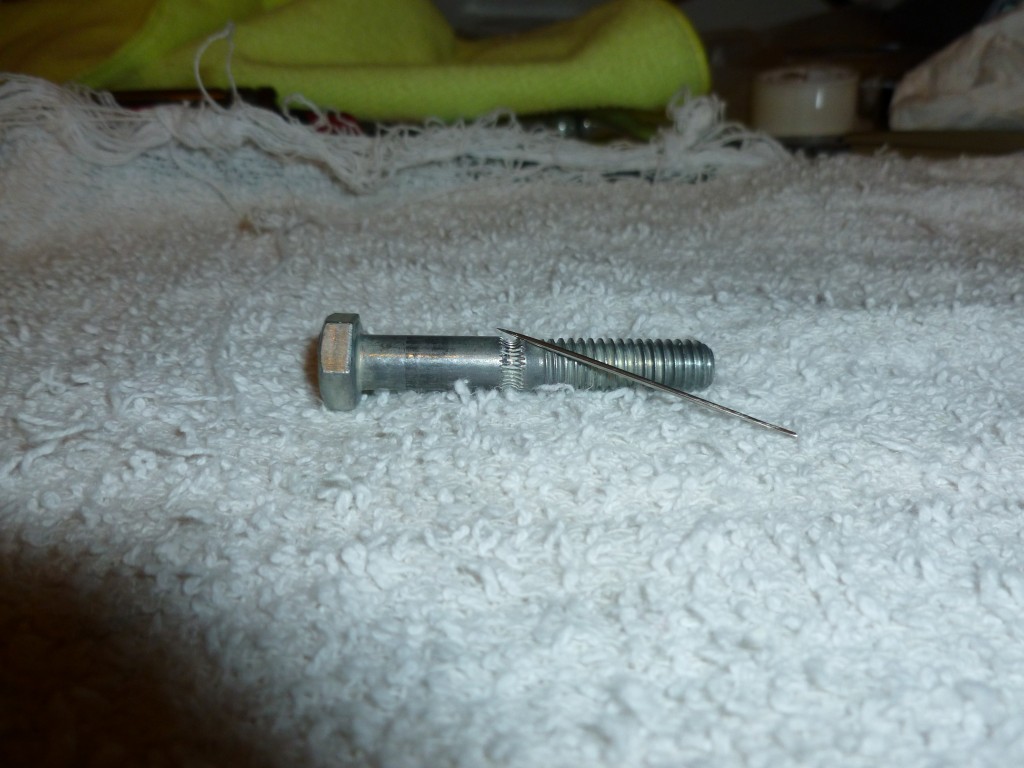
A common beginner issue is the clog up the hobbed bolt with filament (tension springs set incorrectly will do this). I’ve had mine out for cleaning at least twenty times, but it’s been fine for a good while since I figured out the correct spring tension for PLA (springs compressed to ~13.5mm). The following image shows a clogged hobbed bolt being cleaned with a needle (I lost one needle so now store it using a strong magnet to fix it to a drywall screw):
What kind of quality can I expect?
Quality is really good in my opinion. I’ve printed several printer upgrades and the precision is incredible; hex bolts drop right in where they should etc.
It will take a while and likely much frustration to get the printer dialed in. After about sixty hours I seem to have the basics down and when an issue occurs now know what to tweak. Take a look at the next photos to see my progression with PLA:
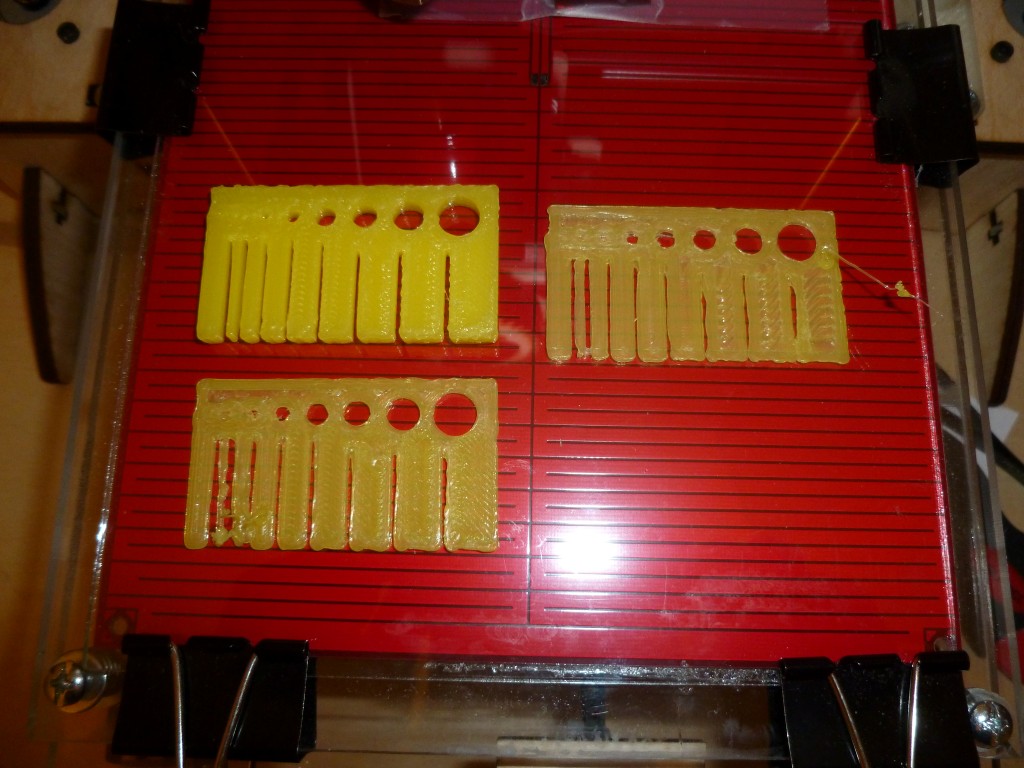
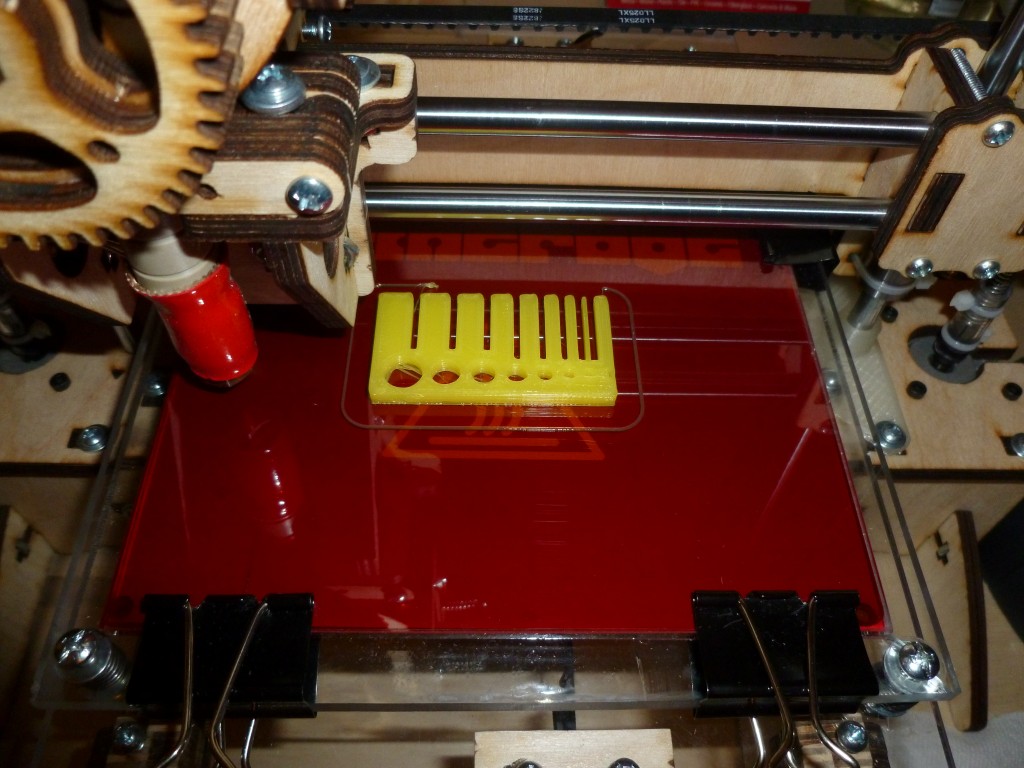
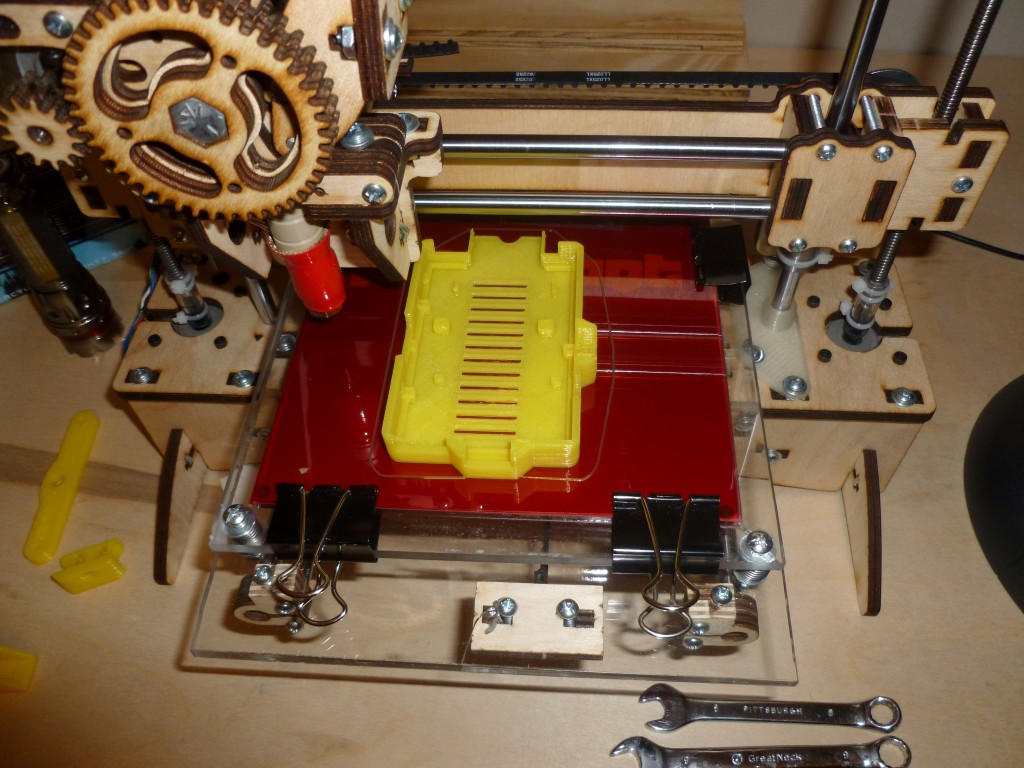
The final print shown is a case for a Raspberry Pi. It fits perfectly, and this was printed before I added most printer upgrades!
Tools required?
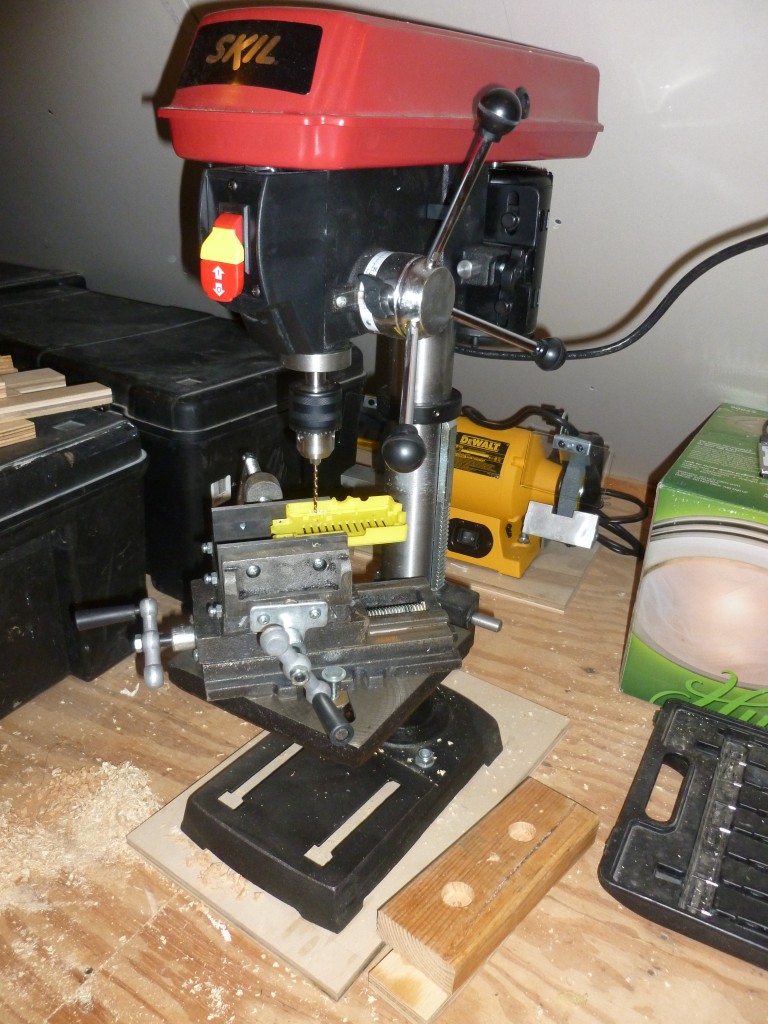
Hmm… this is a tricky one. As a long time DIY type I have access to a vast array of tools. The Drill Press and cross vice shown below has been particularly useful but these are not beginner tools.
At a minimum you need:
- Precision Calipers (only about $20 on Amazon)
- Quality screwdriver set (one with lots of quality bits is fine)
- Jewelers precision screwdrivers
- Small wire cutters and pliers
- Tweezers (to tease strands of stray extruded filament away from the nozzle and lift prints)
- Very sharp craft knife
These are almost essential:
- Quality precision pliers, angled pliers and wire cutters (Xuron or similar)
- Quality oil/ grease
- Circlip pliers
- Telescopic Magnetic Tool to hold awkward nuts in place during assembly
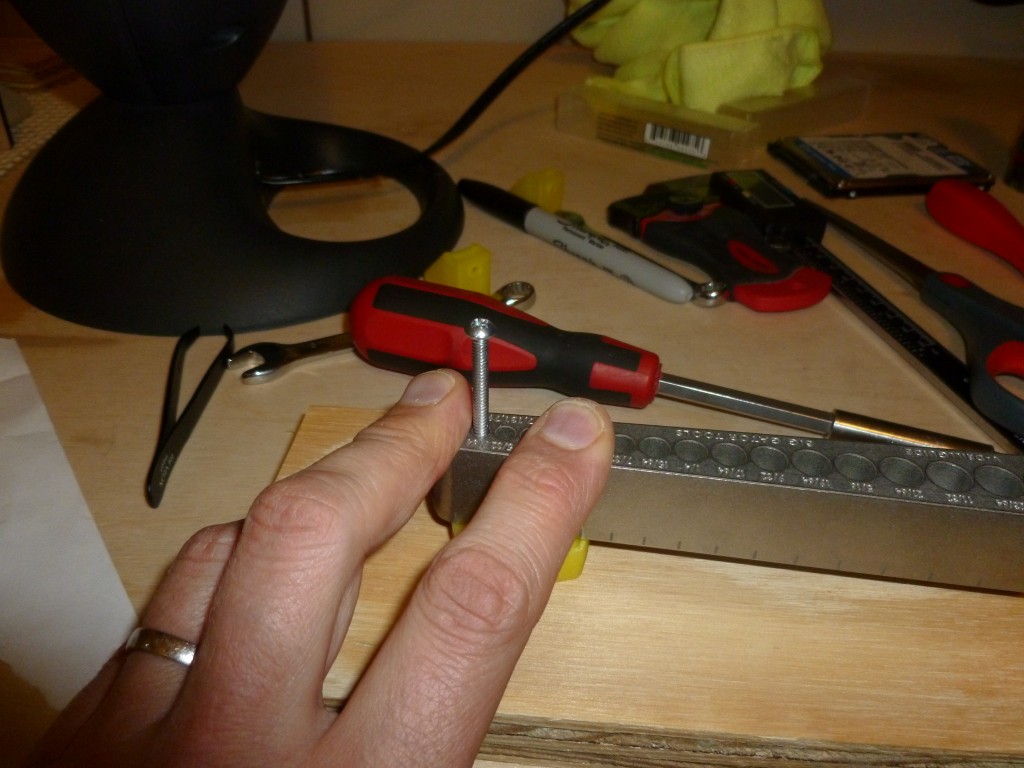
Ensuring bolts thread perpendicularly:
Final Words
Have a spare fifty+ hours, $550 and buckets of patience? You should buy one now!
Remember this is not Software Engineering; interacting with the real world is a whole different ball game. Fellow classmates and I discovered this during our postgrad Robotics Degree . Software is predictable and repeatable. The real world often not so much. In many ways 3D printing is similar to robotics – some software is involved but there is a lot of trial and error + tinkering.